

Users
Under Users you manage everyone internally who works with Locaboo. You can create as many users as you need and assign rights via roles or individual settings.
User roles
Section titled “User roles”Before creating users, it helps to define suitable user roles. Under Add on the Roles tab you create a new role.
Configure a role
Section titled “Configure a role”When you create a role you define:
| Setting | Description |
|---|---|
| Title | Name of the role (for example “Admin rights” or “View only”). |
| Permissions | From view-only to full edit rights for all bookings. |
| Resource permissions | Which resources the rights apply to. You can include or exclude individual resources. |
| Access rights | Access to the different areas of Locaboo (for example calendar, bookings, statistics). |
For example, you can create a role that may edit all bookings but only see certain resources.
Create and invite users
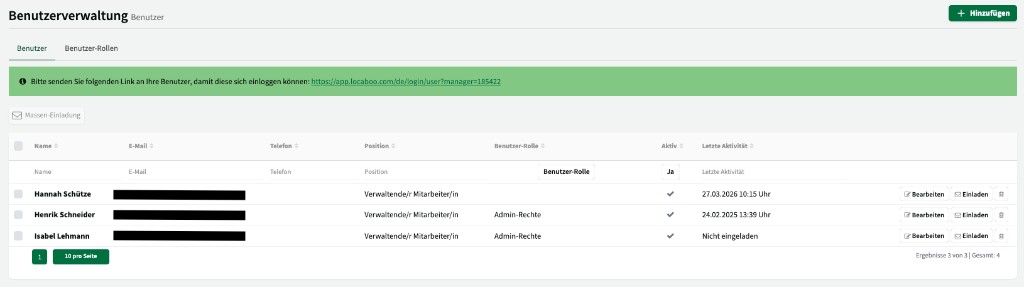
Section titled “Create and invite users”On the Users tab you see all created users with name, email address, assigned role, invitation status, and last login.
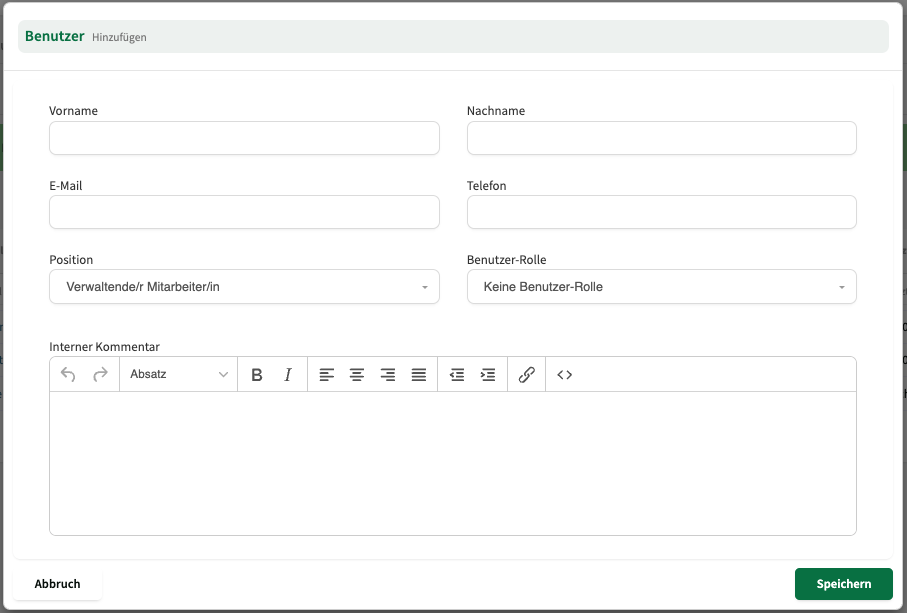
Use Add to create a new user:
- Enter name and email address (the email is used for login).
- Assign a user role—or leave the field empty to set individual access rights.
- Save and send the invitation.

Individual rights vs. role
Section titled “Individual rights vs. role”- With role: Access rights are taken from the role automatically. Manual permission selection is no longer shown.
- Without role: You configure access rights individually for this user—at the same detail level as for a role.
Manager
Section titled “Manager”Each Locaboo account has exactly one manager. The manager has full access to all areas, including the Invoices tab (Locaboo invoices) under Profile, and can maintain VAT ID and IBAN for e-invoices.
The manager account can be changed via Locaboo support. Contact support@locaboo.com with the new manager’s details. Recommendation: have the outgoing manager confirm the change in writing by email before they leave the organisation.
Janitor or read-only access
Section titled “Janitor or read-only access”For janitors who should only see occupancy (and optionally confirm bookings):
- Create a user role (for example “Janitor”) with view permissions.
- Limit resource permissions to the relevant resources (for example only the buildings they look after).
- Create a user with this role and send the invitation.
Alternatively you can give janitors access via a calendar view widget (without booking)—no user account required.
Restore deleted users
Section titled “Restore deleted users”Deleted users can be restored if needed. You’ll find the restore option in user management.